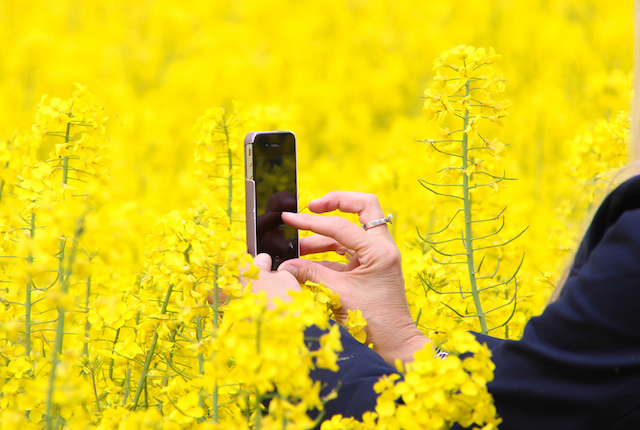
Photo courtesy of Flickr/Susanne Nilsson
If you’re anything like us, you’re a total sucker for travel photos on Instagram. A dreamy beach scene with impossibly blue waters here, a jaw-dropping mountain landscape and the sun serenely setting in a faraway locale there, and you can’t help but get double-tap happy. These days, with smartphones at our disposal, even the least savvy shutterbugs can look like pros. All it takes is some tips and a keen eye to take your pics from grainy to glossy magazine-worthy. To help with the former, we tapped Instagram genius Dylan Furst, who has a whopping 613,000 followers, for some pointers. Here, he shares 10 tips and tricks you can put to the test on your next excursion.
First impressions are important.
https://www.instagram.com/p/BDq49HdwjPK
Before you begin to shoot, it’s crucial to keep the crop and composition in mind. Although Instagram allows for full-size photos now, it still adjusts the crop to a square, which can appear incongruent when perusing the feed as a whole. According to Furst, people are likely to follow you based on your body of work, so photos should look clean on first glance.
To shoot horizontally or vertically — that is the question.
https://www.instagram.com/p/9Y0HiiwjEf
It doesn’t matter which you choose, but you should do both to get different perspectives. Switching up the angles will help you see things differently — and ultimately give you more options on what to post. “I’ll almost always try a vertical and horizontal shot on anything I’m shooting, from portraits to landscapes,” says Furst.
#NoFilter — but really, don't use one.
https://www.instagram.com/p/BFjkdLawjLb
Filters are your frenemy — applying one can degrade the quality of the photo, even if it wasn’t low-quality to begin with. Be careful of over-editing too, which can make things appear unnatural. “I never edit within the Instagram app,” says Furst. Instead, he turns to third-party editing tools like Lightroom. (Other resources include VSCO Cam and Afterlight). “It’s important to develop your own style, but you shouldn’t click one button and have your photo edited in seconds.”
Step out of your comfort zone.
https://www.instagram.com/p/_IHsQlQjDA
It’s essential to experiment — blur things purposefully, play up silhouettes, and try new angles. Creativity and originality are vital, so attempt to see things differently, take photos of the same object several times if you need, go to different locations, and don’t simply recreate someone else’s shot because it worked out well for them.
Find your focus.
https://www.instagram.com/p/BFmNUI1QjD-
Give your viewer one clear focal point. If it’s dark outside, find something lighter to focus on. But ultimately, it comes down to choice. “I love shooting with a wide open aperture, which achieves a lot of blur behind or in front of what I choose to focus on,” says Furst. “People will tell you there are right and wrong ways to do something, but as an artist, I believe that you should always do it your own way — and maybe even break the rules.”
Let there be light.
https://www.instagram.com/p/BD6QeXIwjKA
Lighting plays a huge role in photography. Flash can overexpose one area, so it’s best to use natural light whenever possible. “I prefer to shoot when the light is softer, whether that be at sunrise, sunset, in foggy conditions, cloudy, or rainy,” says Furst. “I don’t like to shoot in broad daylight due to harsh light, but some people prefer that.” Shooting after dark, which can take a lot of trial and error when you’re first starting, is its own beast. It’s important to practice and learn the ins and outs of your camera.
The more the merrier.
https://www.instagram.com/p/_R6tjJQjOG
You know what they say — if at first you don’t succeed, try, try again. Snap several frames of a single object. Not every one will be perfect, but the more you take, the more likely you’ll find something you’ll want to showcase.
Watch your back — and front.
https://www.instagram.com/p/BEq7RsTQjPN
Playing with depth and scale (background and foreground) are key. For example, when you add something like a person in front of a huge landscape, it shows how massive it is. This way, viewers can better relate and put themselves in your shoes when marveling over your photography. “To me, it’s all about making someone feel something,” says Furst.
Select the right tool.
https://www.instagram.com/p/BFAvOw6QjF5
Opt for using your iPhone camera instead of the one offered on Instagram. Not only does it allow for taking several shots of the same scenery, it also gives the shutterbug more control over the image, including setting the focus, selecting what’s exposed in the frame, and more.
Keep it consistent.
https://www.instagram.com/p/BFzEy-5QjK0
Staying consistent with your posts to develop a style and tell a story is also an important technique to remember. If all your photos have a similar aesthetic, it will look more appealing when viewing them together. But don’t forget to have fun with it, of course.
Related Stories:
- 15 Instagram Accounts That Will Inspire You to Travel More
- 7 Unknown Travel Instagram Accounts You Should Be Following
- The 10 Most Instagrammed Travel Destinations in the World
All products are independently selected by our writers and editors. If you buy something through our links, Oyster may earn an affiliate commission.


